Welcome to the World of Vector Graphics: Why Illustrator Matters
Adobe Illustrator is more than just a drawing program; it’s a sophisticated design powerhouse built on the principle of vector graphics. Unlike raster graphics (think photographs composed of pixels), vector graphics are made up of mathematical paths, points, and curves. This fundamental difference is crucial: vector artwork can be scaled to any size—from a tiny icon on a smartphone screen to a massive billboard—without losing clarity or sharpness. This scalability makes Illustrator the go-to tool for a vast array of creative projects.
Understanding Vector Graphics: The Illustrator Advantage
Imagine creating a logo for a new interior design studio. If you design it in a pixel-based program like Photoshop and then try to enlarge it for a storefront sign, it would likely become blurry and pixelated. With Illustrator, that same logo, designed as a vector graphic, will remain crisp and perfect, no matter how much you enlarge it. This inherent quality makes Illustrator indispensable for tasks such as:
- Logo and Branding Design: The foundation of any strong brand identity.
- Iconography: Crafting clear, scalable symbols for digital and print.
- Illustrations: From complex digital paintings to simple line art.
- Typography: Manipulating text and creating custom typefaces.
- Infographics and Data Visualization: Presenting complex information clearly and beautifully.
- Print Media: Brochures, posters, flyers, and professional documents.
- Web and UI/UX Design Elements: Creating assets for websites and applications.
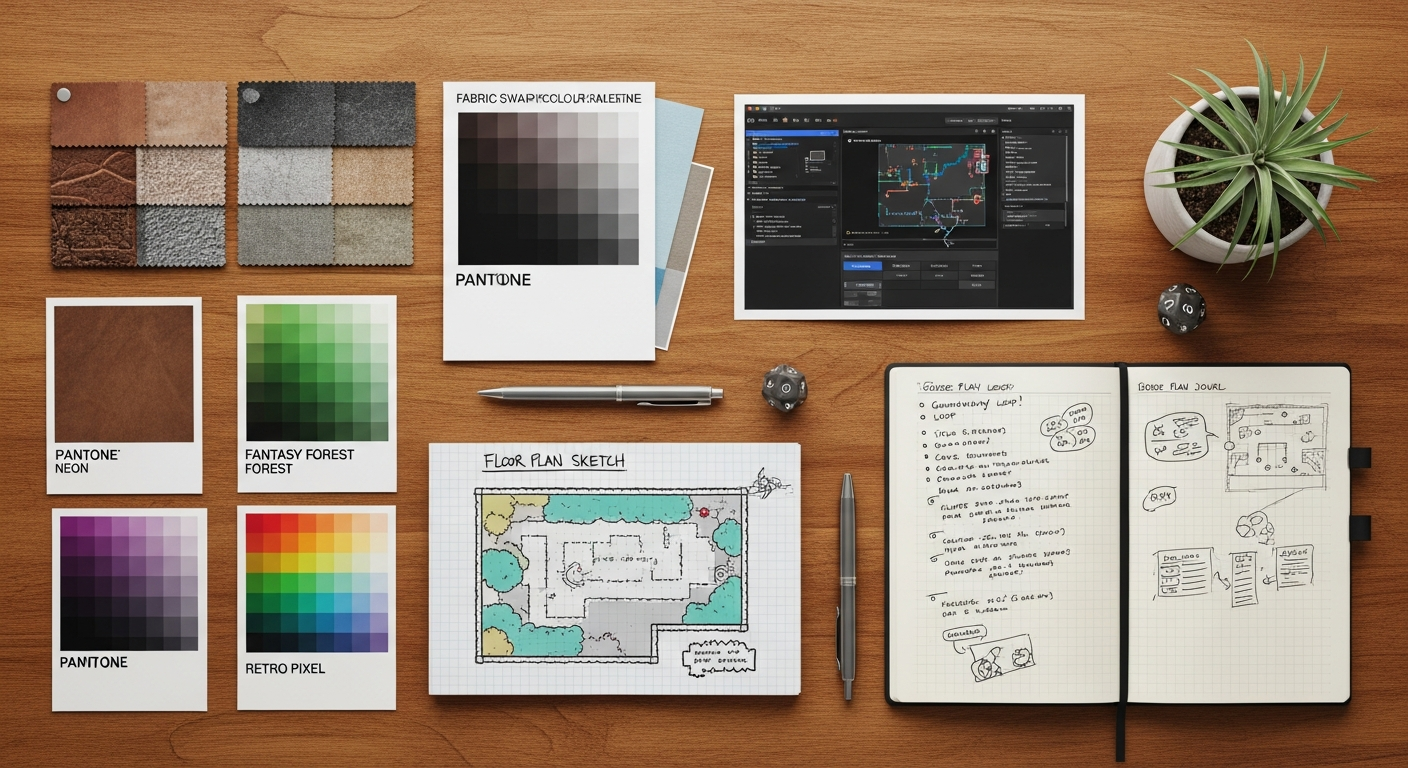
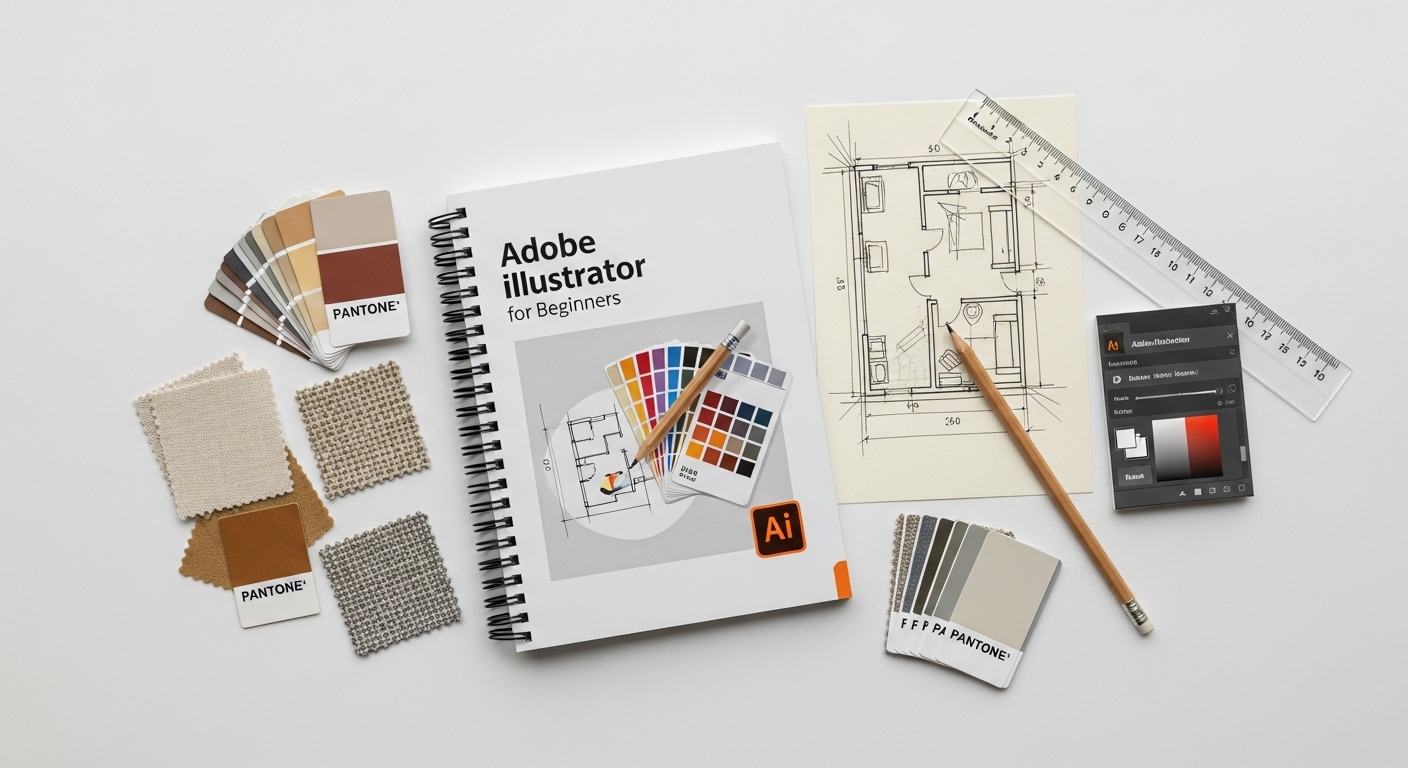
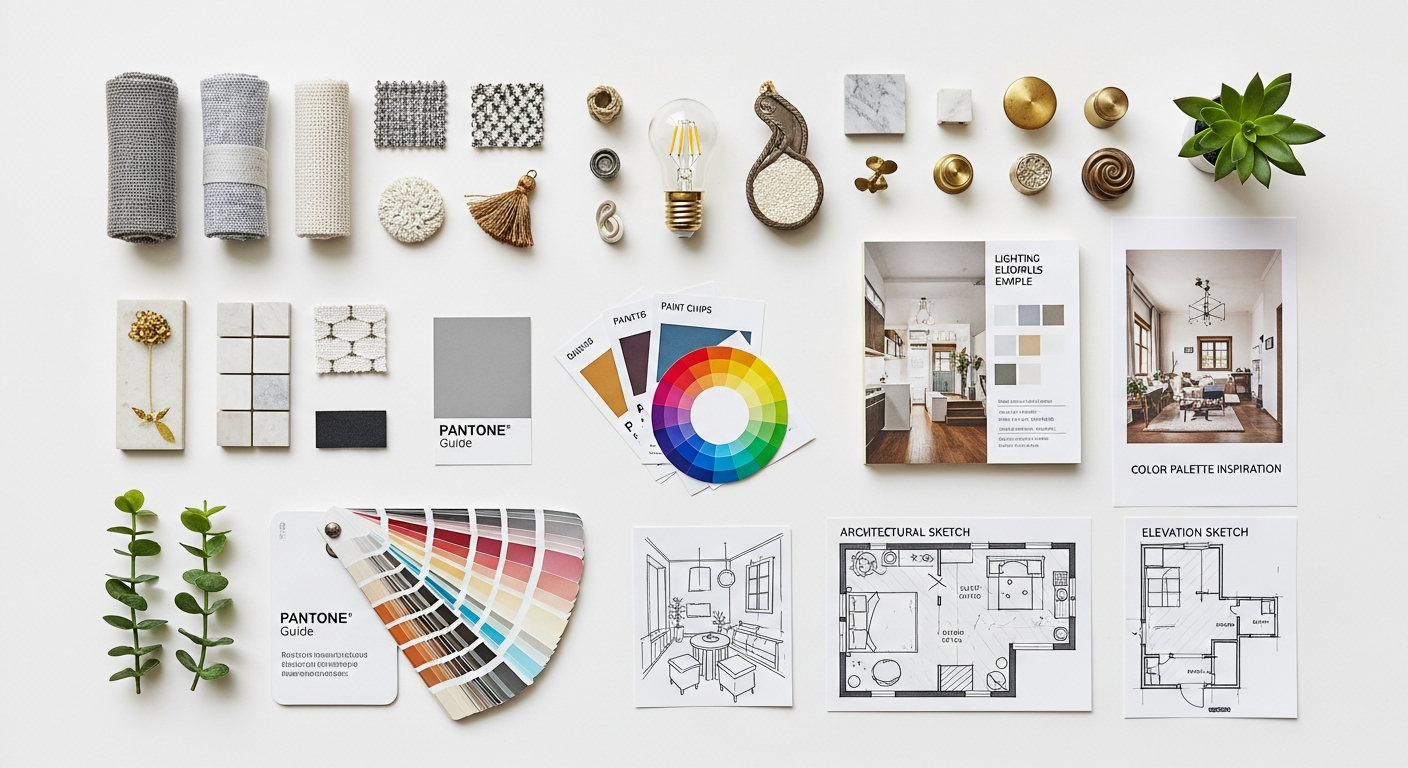
- Interior Design Visuals: Developing precise floor plans, furniture layouts, mood boards, and conceptual renderings.
For interior designers, Illustrator offers a unique advantage. It empowers you to draw accurate floor plans to scale, create detailed furniture elevations, or even design custom patterns for textiles and wallpapers. The ability to work with precise measurements and easily modify elements makes it an invaluable asset in visualizing and presenting your design concepts. Furthermore, when considering the importance of What Is UX Design And Why It Matters, understanding Illustrator’s role in crafting clear, intuitive visual assets for digital experiences becomes evident. A well-designed icon or a clearly laid-out diagram, often created in Illustrator, directly contributes to a positive user experience, whether that user is navigating a website or reviewing a client presentation.
By choosing Illustrator, you’re not just learning a software program; you’re investing in a skill that underpins professional design across countless industries. Its versatility and precision make it an essential tool in the arsenal of any creative professional looking to produce high-quality, adaptable visual content.
Navigating the Illustrator Interface: Your Creative Command Center
Stepping into Adobe Illustrator for the first time can feel like entering a cockpit with countless buttons and dials. However, with a guided tour, you’ll quickly understand the layout and discover how to navigate your creative command center efficiently. The interface is designed to be customizable, allowing you to tailor your workspace to your specific needs and workflow.
Getting Acquainted with the Workspace Elements
When you open Illustrator, you’ll typically be greeted by a default workspace. Let’s break down its key components:
- Artboard: This is your canvas, the area where you create and arrange your artwork. You can have multiple artboards within a single document, perfect for designing various elements like a logo, business card, and social media graphics all in one file.
- Toolbar (Tools Panel): Located on the left side by default, this panel houses all the tools you’ll use to create, select, manipulate, and modify your artwork. Tools are often grouped, and a small triangle in the corner of an icon indicates hidden sub-tools that can be accessed by clicking and holding.
- Control Panel: Situated at the top, just below the menu bar, this panel is dynamic. Its options change based on the tool you currently have selected or the object you have active on your artboard. It provides quick access to common settings like fill and stroke color, stroke weight, font properties, and alignment options.
- Properties Panel: Typically docked on the right side, this panel is a more consolidated version of the Control Panel, offering context-sensitive properties for selected objects or tools. It’s especially useful for beginners as it centralizes many common adjustments.
- Panels (Palettes): Also usually docked on the right, these are windows that provide access to specific features and controls. Examples include the Layers panel, Swatches panel, Pathfinder panel, Appearance panel, and many more. You can open, close, and rearrange these panels to create a custom workspace.
- Menu Bar: At the very top, this standard menu provides access to all of Illustrator’s functions, organized into categories like File, Edit, Object, Type, etc.
A smart first step is to explore the various default workspaces available under Window > Workspace. Options like “Essentials Classic,” “Typograpy,” or “Painting” reconfigure the panel layout to suit different tasks. For beginners, “Essentials Classic” is often a good starting point as it provides a comprehensive overview of commonly used panels.
Mastering the interface isn’t about memorizing every button immediately, but rather understanding where to find the tools and panels you need. Don’t hesitate to drag panels around, dock them, or even float them as separate windows. Customizing your workspace to reflect your workflow will significantly boost your efficiency and comfort as you delve deeper into Illustrator’s capabilities. Remember, a well-organized workspace is the first step towards an organized creative process, crucial for projects ranging from intricate illustrations to precise architectural renderings for interior design.
Your First Steps: Essential Tools for Every Illustrator Beginner
The Core Toolkit: Getting Started with Creation and Manipulation
Let’s dive into the essential tools that will become your constant companions:
- Selection Tool (V): Often the most used tool, the Selection Tool (black arrow) allows you to select entire objects, groups of objects, or artboards. You can then move, scale, rotate, and transform these selected items. Think of it as your primary way to interact with and arrange your artwork.
- Direct Selection Tool (A): The Direct Selection Tool (white arrow) is distinct from the Selection Tool. It allows you to select and manipulate individual anchor points, path segments, or handles within an object. This is critical for fine-tuning shapes, adjusting curves, and achieving precise control over your vector paths. For instance, if you draw a rectangle and want to round just one corner, this is the tool you’d use.
- Pen Tool (P): The Pen Tool is legendary for its power and precision in vector drawing. While it has a reputation for a steep learning curve, mastering its basics opens up a world of possibilities. It allows you to create custom shapes and paths by placing anchor points and manipulating Bezier handles to control the curves between them. Start by practicing drawing straight lines and then simple curves. It’s the ultimate tool for drawing anything from complex illustrations to intricate architectural details for a floor plan.
- Shape Tools (M, L, N): Illustrator offers a variety of predefined shape tools, including the Rectangle Tool (M), Ellipse Tool (L), Polygon Tool, Star Tool, and Line Segment Tool (\). These are excellent for quickly laying down basic geometric forms. Holding Shift while drawing ensures perfect proportions (e.g., a perfect square or circle).
- Type Tool (T): Essential for adding text to your designs. Click on the artboard to create point type (for single lines of text) or click and drag to create area type (for paragraphs of text within a defined box). We’ll delve deeper into typography later, but knowing how to add text is a fundamental skill.
- Eyedropper Tool (I): This handy tool allows you to sample colors, type attributes, and appearance properties from any object on your artboard (or even outside Illustrator from your screen) and apply them to another object. It’s a massive time-saver for ensuring color consistency and design harmony.
- Zoom Tool (Z) & Hand Tool (H): The Zoom Tool allows you to magnify or reduce your view of the artboard. Holding Alt/Option while clicking with the Zoom Tool will zoom out. The Hand Tool lets you pan around your artboard when zoomed in, providing a closer look at details without changing the magnification level. Keyboard shortcuts for these are often quicker: Ctrl/Cmd + + to zoom in, Ctrl/Cmd + – to zoom out, and holding the Spacebar temporarily activates the Hand Tool.
Practice is key with these tools. Don’t be afraid to experiment, undo (Ctrl/Cmd + Z), and try again. The more you use them, the more intuitive they will become, forming the bedrock of your Adobe Illustrator proficiency. As you grow more comfortable, you’ll find these tools are fundamental to creating everything from a simple icon to a detailed infographic that adheres to best practices for visual clarity and impact, echoing Infographic Design Tips And Best Practices.
Building Blocks of Design: Shapes, Paths, and Color Fundamentals
Once you’re familiar with the basic tools, it’s time to understand how to combine them to create compelling visuals. At the heart of Illustrator are shapes, paths, and the strategic application of color. These elements are the fundamental building blocks of all vector artwork, allowing you to construct everything from simple icons to intricate illustrations and detailed interior design layouts.
Crafting and Manipulating Shapes and Paths
Every object you create in Illustrator is essentially a path, defined by anchor points and segments. Even a simple rectangle is a closed path with four anchor points. Understanding this concept is vital for precise editing.
- Creating Basic Shapes: Use the Rectangle Tool, Ellipse Tool, etc., to draw initial shapes. Remember to hold Shift for perfect proportions. After creating a shape, you can use the Selection Tool to resize or rotate it.
- Editing with the Direct Selection Tool: This is where shapes become truly versatile. Select a shape with the Direct Selection Tool, and you’ll see its individual anchor points. Click and drag an anchor point to change the shape’s geometry. Click on a path segment to move just that part of the shape. If an anchor point has handles (often seen on curved paths), you can drag these handles to adjust the curve’s intensity and direction.
- The Pathfinder Panel: This powerful panel (
Window > Pathfinder) is essential for combining, subtracting, intersecting, and dividing shapes. For example, you can use “Unite” to merge two overlapping circles into a single, seamless blob, or “Minus Front” to punch a hole through one shape using another. This panel is invaluable for creating complex forms from simpler ones, a core technique in logo design and intricate vector illustrations. - Layers Panel: Organization is key, especially as your designs grow more complex. The Layers panel (
Window > Layers) allows you to manage your artwork by stacking objects in a hierarchical order. You can group related elements, hide layers, lock them to prevent accidental edits, and easily navigate through your entire composition. For interior designers, using layers to separate furniture, walls, dimensions, and text in a floor plan is incredibly efficient.
The Art and Science of Color: Fills and Strokes
Color breathes life into your designs. In Illustrator, every path or shape can have two primary color attributes:
- Fill: The color that fills the interior of a closed path or shape.
- Stroke: The color of the outline or border of a path or shape. You can also control the stroke’s weight (thickness), style (dashed, dotted), and cap/corner types.
You’ll find the Fill and Stroke color boxes in the Tools panel, the Control panel, and the Properties panel. Clicking on these boxes will bring up the Color Picker, allowing you to choose colors using various models (RGB, CMYK, HSB) or hexadecimal codes.
- Swatches Panel: This panel (
Window > Swatches) is your library of saved colors, gradients, and patterns. It’s crucial for maintaining color consistency across your projects. You can save custom colors, create color groups, and use global swatches that update across your document if you modify them. - Color Panel: For more direct manipulation, the Color panel (
Window > Color) allows you to adjust color values using sliders or numeric input, providing precise control over your hues, saturations, and brightness. - Gradients: Illustrator excels at creating smooth color transitions. The Gradient panel (
Window > Gradient) lets you define linear, radial, or freeform gradients, adding depth and visual interest to your shapes.
Understanding the interplay between fills, strokes, and the various color panels will empower you to make informed design decisions. Consistent and thoughtful color application is not just aesthetically pleasing but also contributes to the clarity and usability of your designs, a principle that ties directly into the visual standards of How To Conduct A Heuristic Evaluation, where visual consistency and feedback are key to positive user interaction.
Mastering Text and Typography: Elevating Your Visual Communication
Text is a powerful element in design, conveying information, establishing tone, and guiding the viewer’s eye. Adobe Illustrator offers robust tools for working with typography, allowing you to not only add text but also transform it into a graphic element that seamlessly integrates with your overall design. Mastering text in Illustrator is crucial for everything from branding to creating compelling infographics.
Working with the Type Tool and its Capabilities
The Type Tool (T) is your gateway to adding text. Illustrator offers two primary ways to create text:
- Point Type: Simply click on the artboard with the Type Tool. This creates a single line of text that expands or contracts as you type. It’s ideal for headlines, short phrases, or individual words where you want precise control over scaling without affecting line breaks.
- Area Type: Click and drag with the Type Tool to define a text box. Text within this box will wrap automatically, making it perfect for paragraphs, body copy, or any longer blocks of text. You can resize the text box without changing the font size, and the text will reflow to fit.
Once you have text on your artboard, the Character Panel (Window > Type > Character) and the Paragraph Panel (Window > Type > Paragraph) become your best friends. These panels provide extensive controls:
- Font Family & Style: Choose from your installed fonts and select styles like bold, italic, or light.
- Font Size: Adjust the size of your text.
- Leading: The vertical space between lines of text (line spacing).
- Kerning: The space between two specific characters, useful for adjusting awkward gaps.
- Tracking: The overall spacing between a range of characters.
- Alignment: Align text left, right, center, or justify.
- Indentation & Spacing: Control paragraph indents and spacing before/after paragraphs.
Advanced Text Manipulation and Integration
Illustrator goes beyond basic text formatting, allowing you to treat text as a graphic object:
- Text on a Path: With the Type on a Path Tool (found by clicking and holding the Type Tool icon), you can make text follow the contour of any path you’ve drawn, whether it’s a circle, a wave, or a freeform shape. This is fantastic for unique logo designs or creative layouts.
- Outlining Text: Before sending files to print or to other designers, it’s a critical best practice to “outline” your text (
Type > Create Outlines). This converts your text into editable vector shapes, ensuring that the recipient will see your fonts exactly as you designed them, even if they don’t have those specific fonts installed on their system. Once outlined, text is no longer editable as text but can be manipulated like any other vector shape. - Creative Typography: You can apply fills, strokes, gradients, and effects to text, just like any other vector object. This opens up possibilities for stunning typographic designs that are both readable and visually striking.
When designing for clarity and impact, especially in visual communication pieces like infographics or client presentations, thoughtful typography is non-negotiable. As highlighted in Infographic Design Tips And Best Practices, clear hierarchy, appropriate font choices, and careful attention to legibility are paramount. Illustrator provides all the tools you need to ensure your text not only looks good but also effectively communicates your message, enhancing the overall readability and aesthetic appeal of your designs for 2026 and beyond.
Practical Applications and Creative Workflow Insights
Having explored the foundational tools and concepts, it’s time to bridge the gap between learning features and applying them in real-world creative scenarios. Adobe Illustrator’s versatility means it integrates into various professional workflows, from crafting corporate identities to visualizing interior spaces. Understanding these applications helps solidify your learning and inspires future projects.
Illustrator in Action: Diverse Creative Projects
Let’s consider how Illustrator’s capabilities translate into practical design work:
- Designing a Simple Logo: A logo is often a designer’s first significant project. Using the Shape Tools and Pathfinder panel, you can quickly combine basic forms to create unique marks. The Pen Tool allows for more intricate, custom shapes. Applying fills and strokes, and experimenting with the Type Tool for the logotype, brings the brand to life. Illustrator’s vector nature ensures the logo is scalable for everything from business cards to large signage.
- Creating Infographic Elements: Illustrator is the undisputed champion for infographic design. You can design custom icons, data visualization elements (like pie charts, bar graphs, or custom diagrams), and visually appealing text layouts. By employing principles from Infographic Design Tips And Best Practices, you can ensure your visual data storytelling is both engaging and easy to understand. The precision of vector graphics makes it simple to align elements, maintain consistent spacing, and ensure readability at any size.
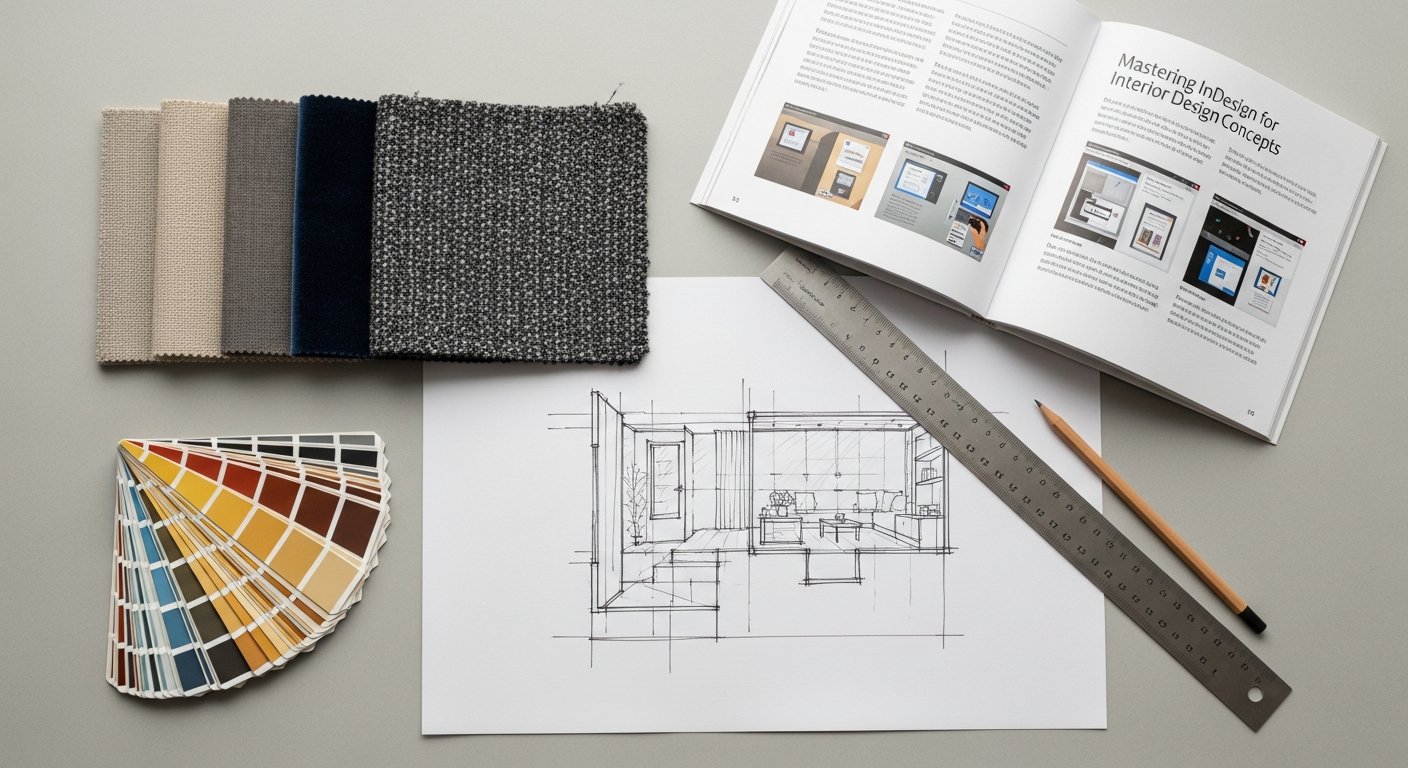
- Developing Mood Boards and Concept Sketches for Interior Design: For interior designers, Illustrator can be transformative. Instead of relying solely on physical cutouts, you can create digital mood boards by importing textures, furniture silhouettes, and color palettes. Use basic shapes to block out room layouts or furniture arrangements to scale. The ability to quickly duplicate, recolor, and rearrange elements makes it an iterative process, allowing you to explore numerous design options efficiently. You can even draw precise floor plans and elevations, adding dimensions and annotations.
- Crafting UI/UX Assets: While dedicated UI/UX tools exist, Illustrator remains a powerful platform for creating individual UI elements like icons, buttons, or even entire wireframes and mockups. Its precision and vector scalability are invaluable for ensuring interface elements look sharp on any screen resolution. This directly relates to What Is UX Design And Why It Matters, as well-crafted, consistent, and clear visual assets contribute significantly to a positive user experience. By designing elements that are intuitive and visually consistent, you enhance usability and user satisfaction.
- Visualizing Data for Reports and Evaluations: When conducting something like a Heuristic Evaluation, presenting findings clearly is paramount. Illustrator can be used to create professional-looking charts, graphs, diagrams, and flowcharts that visually communicate complex evaluation results. The ability to customize every aspect of these visuals ensures they are not only informative but also engaging and easy to interpret by stakeholders.
The true power of Illustrator lies in its flexibility to adapt to diverse creative needs. As you practice, you’ll find that the skills you learn for one type of project are often transferable to another, making it an incredibly efficient tool for any creative professional in 2026. Embrace experimentation, and you’ll soon discover your own unique workflows and applications for this remarkable software.
Saving Your Masterpiece and Beyond: Exporting and Next Steps
Congratulations! You’ve navigated the interface, mastered essential tools, and applied your newfound skills to practical designs. The final, crucial step in any creative process is ensuring your work is saved correctly and exported in the appropriate format for its intended use. This section will guide you through saving your Illustrator files and preparing them for print, web, or sharing with others, along with advice for continuing your learning journey.
Saving and Exporting Your Illustrator Creations
Understanding the different file formats and their purposes is vital for maintaining the quality and usability of your artwork.
- Saving Your Work (
File > SaveorFile > Save As...):- .ai (Adobe Illustrator Document): This is Illustrator’s native file format. Always save your original, editable work in this format. It preserves all layers, editable text, effects, and vector data, allowing you to return and make changes at any time.
- .eps (Encapsulated PostScript): An older but still widely used vector format, especially in print workflows. It’s highly compatible with various design software and print systems. It’s generally good practice to save a .ai file first, then an .eps if required by a printer or client.
- .svg (Scalable Vector Graphics): The standard vector format for the web. SVG files are XML-based, meaning they can be scaled without loss of quality in web browsers and can even be animated or manipulated with CSS/JavaScript. Ideal for logos, icons, and illustrations on websites.
- Exporting for Specific Uses (
File > Export > Export As...orFile > Export > Save for Web (Legacy)...):- .png (Portable Network Graphics): A raster format that supports transparency. Excellent for web graphics (icons, logos, simple illustrations) where you need a transparent background. Best for digital display.
- .jpg (Joint Photographic Experts Group): A raster format best for photographs and complex images with many colors, as it uses lossy compression to reduce file size. Not ideal for graphics with sharp edges or text, as compression artifacts can appear.
- .pdf (Portable Document Format): A versatile format for sharing documents, both vector and raster content. You can save Illustrator files as PDFs, preserving vector data and editable text if desired. It’s a common format for client proofs, print-ready files, and multi-page documents.
- Optimizing for Web: The
File > Export > Save for Web (Legacy)...option provides detailed controls for optimizing image quality and file size for web use, allowing you to preview how different settings (like PNG-8, PNG-24, JPEG quality) will affect your exported image.
- Artboards for Multiple Outputs: If your document contains multiple artboards (e.g., different versions of a logo or various social media banners), Illustrator allows you to export them individually or as a single file, streamlining your workflow significantly.
Continuing Your Illustrator Journey in 2026
Learning Adobe Illustrator is an ongoing process. The software is constantly updated with new features, and design trends evolve. Here are some recommendations for continuing your growth:
- Practice Regularly: The more you use Illustrator, the more intuitive it becomes. Challenge yourself with small projects regularly.
- Explore Online Tutorials: Platforms like Adobe’s own tutorials, YouTube, Skillshare, and LinkedIn Learning offer a wealth of knowledge for all skill levels.
- Join Creative Communities: Engage with other designers online or in local groups. Sharing your work and getting feedback is invaluable.
- Experiment with Advanced Features: Once comfortable with the basics, delve into features like brushes, symbols, effects, appearance panel, and 3D tools.
- Stay Updated: Keep an eye on Adobe’s updates and new features for Illustrator to leverage the latest capabilities in your designs.
- Study Design Principles: Software is a tool; understanding fundamental design principles (composition, color theory, typography, hierarchy) will elevate your work far beyond technical proficiency.
By diligently practicing and continuously seeking new knowledge, you’ll transform from a beginner into a confident and skilled Adobe Illustrator user. The creative possibilities are truly limitless, and your ability to bring complex interior design visions, compelling brand stories, and impactful visual communications to life will only grow stronger.
Frequently Asked Questions
Recommended Resources
Learn more about this topic in Cloud Computing Benefits For Small Businesses at Eamped.
For more on adobe illustrator for, see Smart Home Devices Worth Buying 2026 on Bookmark Sharer.