The Definitive Guide to Product Packaging Design for 2026: From Concept to Shelf Appeal
As UI/UX designers, web designers, and creative professionals, we spend countless hours crafting digital experiences. We obsess over pixels, user flows, and responsive layouts. But what happens when your beautifully designed brand, your meticulously built product, finally meets the physical world? It arrives in a package. And for many consumers, that package is the very first tangible interaction they have with your brand – a critical touchpoint that can make or break their perception.
Packaging design isn’t just about wrapping a product; it’s about extending your brand’s narrative, creating an emotional connection, and delivering an unforgettable experience. It’s a physical interface, a silent salesperson, and a crucial element of product success. In a competitive market where digital noise is constant, standing out on a shelf (physical or virtual) has never been more vital. The principles you apply in digital design – hierarchy, usability, visual appeal, user journey – are equally, if not more, critical in the realm of packaging.
This comprehensive guide is for you. We’ll dive deep into the world of packaging design, exploring the strategic thinking, the creative process, the essential tools, and the forward-looking trends that will define success in 2026 and beyond. Get ready to translate your digital design prowess into compelling, tangible experiences that captivate and convert.
Why Packaging Design Matters (Even for Digital Pros)
You might be wondering why a blog focused on UI/UX and web design is talking about cardboard and plastic. The truth is, the line between digital and physical design is blurring. A brand’s identity must be cohesive across all touchpoints, and for many products, packaging is the ultimate physical manifestation of that brand. Here’s why it’s not just relevant, but essential, for you to understand:
- First Impressions are Physical: While your website might be a user’s first digital interaction, the package is often their first physical one. It’s an immediate, tangible representation of quality, value, and brand personality. Just like a landing page, it needs to grab attention and communicate effectively within seconds.
- Brand Storytelling in 3D: Packaging offers a unique canvas for storytelling. Beyond logos and taglines, the choice of materials, textures, colors, and structural design all contribute to a narrative. It allows consumers to literally hold your brand in their hands, fostering a deeper, more emotional connection.
- The Unboxing Experience: A User Journey: This is where your UI/UX skills shine brightest. The act of unboxing is a carefully choreographed user journey. From the outer seal to the internal compartments, every step can be designed to delight, inform, and build anticipation. Thinking about the “flow” of opening a package is directly analogous to designing a user flow through an app or website.
- Differentiation in a Crowded Market: In a world saturated with products, unique and thoughtful packaging can be a powerful differentiator. It can elevate a generic product into a premium experience, justify a higher price point, and create memorable moments that encourage repeat purchases and word-of-mouth marketing.
- Sustainability as a Design Imperative: Consumers are increasingly conscious of environmental impact. Your packaging choices directly reflect a brand’s commitment to sustainability, influencing purchasing decisions and brand loyalty. This isn’t just a trend; it’s a fundamental shift in consumer values that designers must address.
Think of packaging as a physical interface. It needs clear information architecture, intuitive navigation (how to open it), visual appeal, and a positive user experience (the unboxing). Your existing skillset provides a powerful foundation for excellence in this domain.
Laying the Groundwork: Research, Strategy, and Brand Identity
Before you even think about colors or fonts, successful packaging design begins with a deep dive into strategy. This foundational work ensures your design is not just beautiful, but also effective, relevant, and aligned with business goals.
1. Understand the Product Inside Out
- What is it? Beyond its basic function, what problem does it solve? What feeling does it evoke?
- Its Value Proposition: What makes it unique? What are its key benefits?
- Its Physical Characteristics: Size, weight, fragility, shelf life, how it’s stored and transported. These directly impact structural design and material choices.
2. Define Your Brand Identity (or Reaffirm It)
Your packaging must be an extension of your brand. If you’ve already established a strong brand identity:
- Review Brand Guidelines: Logos, color palettes, typography, imagery style, tone of voice. Consistency is key.
- Brand Personality: Is your brand playful, luxurious, minimalist, rugged, eco-conscious? The packaging must embody this.
If you’re working with a new brand, this is your chance to help define its visual and emotional core.
3. Know Your Target Audience
Who are you trying to reach? Your packaging needs to resonate with them.
- Demographics: Age, gender, income, location.
- Psychographics: Lifestyles, values, interests, purchasing habits, aspirations.
- Pain Points & Desires: How does the product (and its packaging) address these?
- Cultural Nuances: Especially important for international markets.
4. Conduct Thorough Market & Competitor Analysis
- Who are your competitors? What do their packages look like? What are their strengths and weaknesses?
- Identify Gaps & Opportunities: Can you differentiate through a unique structure, material, or visual style?
- Understand Industry Standards: While innovation is good, sometimes there are established norms consumers expect (e.g., milk cartons).
- Shelf Impact: How will your package look alongside competitors in a retail environment? This is crucial for visual hierarchy and standing out.
5. Define the Unboxing Experience
This is where the user journey truly begins. Map out the sequence of interactions a user will have:
- What’s the first thing they see?
- How do they open it? Is it intuitive or does it create a moment of surprise?
- What layers or inserts are there?
- How is the product revealed?
- What additional information or elements are included (e.g., instruction manuals, thank you notes, samples)?
- How can you make this memorable and shareable?
6. Establish Information Hierarchy
What information absolutely must be on the package, and in what order of importance?
- Primary Information: Product name, brand logo, key benefit. This needs to be instantly recognizable.
- Secondary Information: Flavor/variant, size/quantity, key ingredients, usage instructions.
- Tertiary Information: Nutritional facts, legal disclaimers, barcode, certifications (e.g., organic, vegan), manufacturer details.
Just like a website, scanability and clarity are paramount. Don’t overwhelm the user.
The Core Design Process: From Concept to Creation
With your strategic groundwork complete, it’s time to translate insights into tangible designs. This process is iterative, collaborative, and requires a blend of creative flair and technical precision.
1. The Creative Brief: Your Blueprint
Start with a detailed creative brief. This document consolidates all the strategic information and outlines project scope, objectives, budget, timeline, and key deliverables. It’s your single source of truth and helps keep everyone aligned.
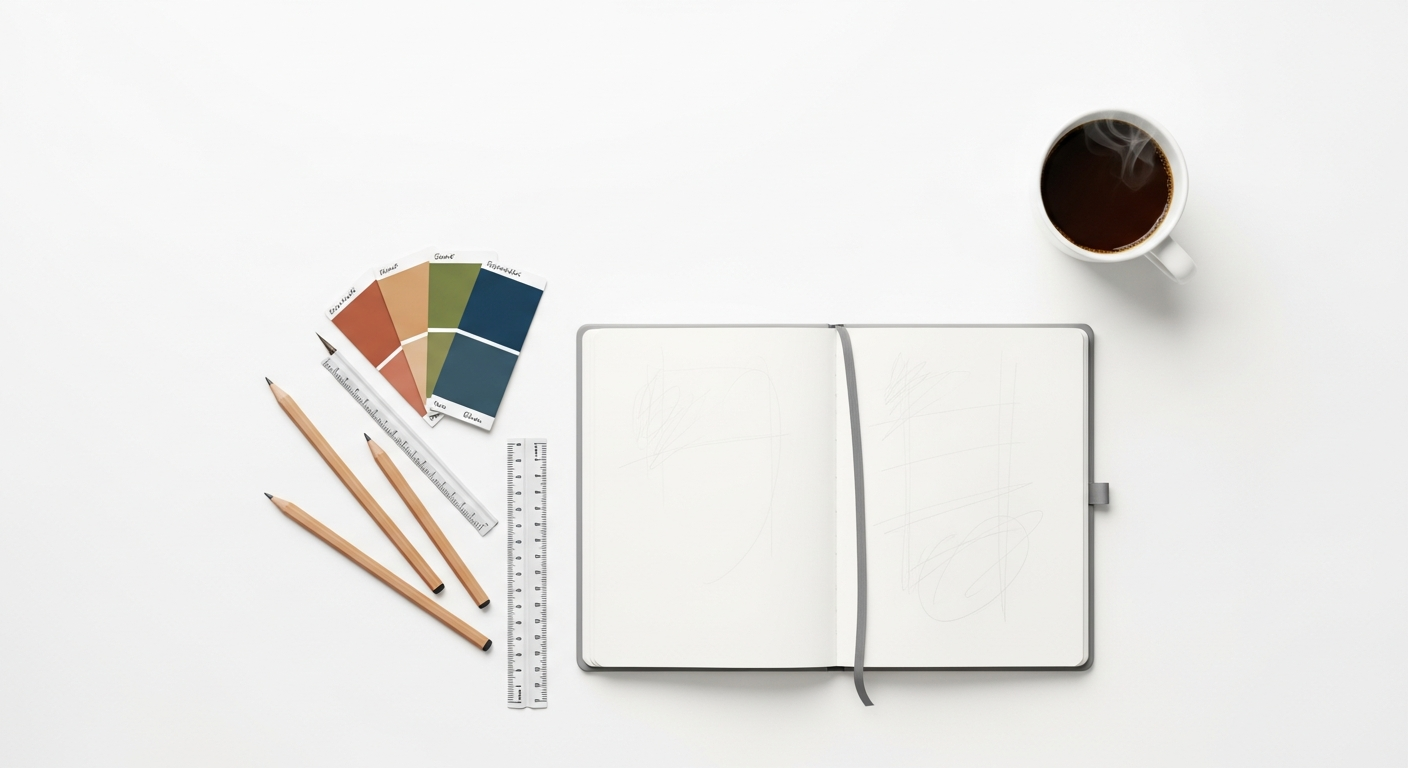
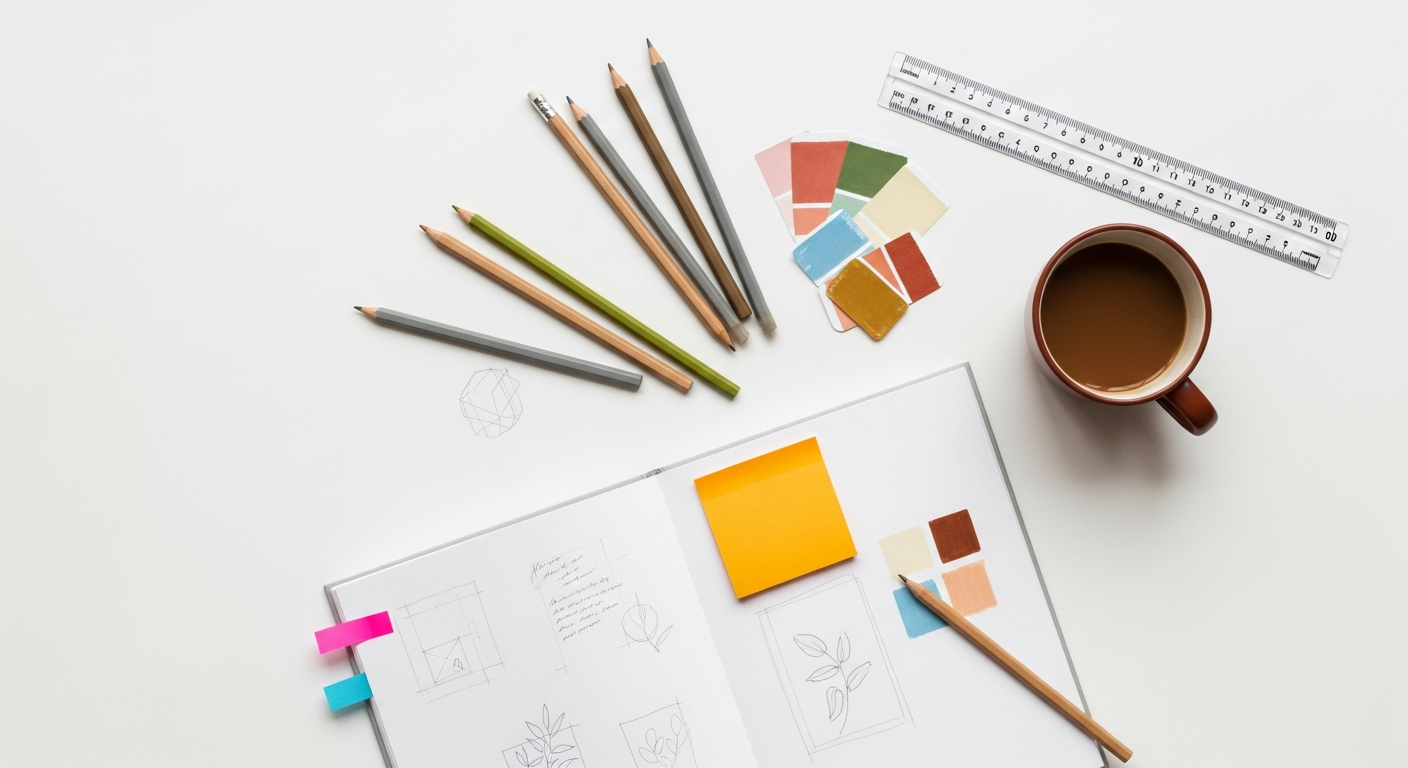
2. Ideation & Sketching: Exploring Possibilities
Don’t jump straight to software. Grab a pencil and paper!
- Brainstorming: Generate a wide range of ideas, no matter how wild.
- Mood Boards: Collect visual inspiration – colors, textures, typography, imagery, existing packaging you admire (or dislike).
- Thumbnails & Rough Sketches: Explore different layouts, structural forms, opening mechanisms, and visual styles. Focus on overall composition and hierarchy.
3. Structural Design: Form Follows Function
This is where the physical shape of the package takes form. You’ll often collaborate with packaging engineers or manufacturers here.
- Dielines: These are the flattened, two-dimensional templates that guide the cutting and scoring of packaging materials. They are critical for accurate production.
- Material Selection: Consider factors like protection, cost, sustainability, tactile feel, printability, and shelf life. Common materials include paperboard, corrugated cardboard, plastic, glass, metal, and various bioplastics.
- Form Factor: Does it need to be stackable, hangable, squeezable, or rigid? How will it be transported and stored?
4. Graphic Design & Visuals: Bringing the Brand to Life
This is where your brand identity is applied to the structural design.
- Typography: Choose fonts that align with your brand personality and are highly legible at various sizes.
- Color Palette: Use your brand colors, but also consider their impact on the shelf and how they convey emotion. Remember CMYK for print.
- Imagery & Illustrations: High-quality product photography, evocative illustrations, or abstract patterns can all play a role. Ensure they support the brand story.
- Branding Elements: Logo placement, brand patterns, taglines.
- Information Layout: Apply your established information hierarchy, ensuring all necessary legal and product details are present and clear.
5. Prototyping & Mockups: Visualizing the Real Thing
This crucial step allows you to see, feel, and test your designs before committing to mass production.
- Digital Mockups: Use tools like Adobe Dimension for quick 3D renders of your 2D designs applied to common packaging forms. For more complex or custom 3D models, consider Blender or Cinema 4D.
- Figma & Adobe XD for Storyboarding: While not 3D packaging tools, these are excellent for creating flat mockups, visualizing different sides of a package, and especially for storyboarding the unboxing experience. You can create clickable prototypes that simulate the sequence of opening and revealing, helping you refine the user journey.
- Physical Prototypes (Dummies):
- Paper Mockups: Print your dielines on plain paper or cardstock, cut, and fold. This is invaluable for checking structural integrity and overall proportions.
- 3D Printing: For complex structural elements or custom inserts, 3D printing offers a rapid way to test form and fit.
- Working Samples: Collaborate with your chosen packaging manufacturer to get actual samples using the intended materials and printing techniques. This is the closest you’ll get to the final product before production.
6. Testing & Iteration: Refine and Perfect
Just like user testing for a website, packaging benefits immensely from real-world feedback.
- Visual Impact Testing: Place prototypes next to competitors on a mock shelf. Does it stand out? Is it legible?
- Usability Testing: Ask target consumers to unbox the product. Is it easy to open? Is the information clear? Do they enjoy the experience?
- Durability Testing: How does it hold up to shipping and handling?
- Gather Feedback: Use surveys, interviews, and observation to identify areas for improvement. Iterate and refine based on these insights.
7. Production Preparation & Finalization
This is the handover stage to the manufacturer.
- Final Dielines: Ensure they are precise, vector-based, and meet the manufacturer’s specifications.
- Print-Ready Files: High-resolution graphics, correct color profiles (CMYK, spot colors like Pantone), embedded fonts, and proper bleed and safety margins.
- Quality Control: Establish clear quality control guidelines with your manufacturer.
- Legal & Regulatory Compliance: Double-check all required information (nutritional facts, barcodes, safety warnings, certifications) is accurate and correctly placed.
Mastering the Tools and Techniques for Modern Packaging
Your digital toolbox is more powerful than you think when applied to packaging. Here’s a look at the essential software and techniques.
Vector Graphics: Adobe Illustrator (The Workhorse)
- Dielines: Illustrator is the industry standard for creating precise, scalable vector dielines.
- Logos & Branding: All brand assets, including logos, icons, and illustrations, should be created here for crisp, resolution-independent output.
- Typography: Illustrator offers robust control over text, crucial for legibility and brand consistency.
- Layout: While you can use InDesign for complex multi-page documents, Illustrator is often preferred for single-page packaging layouts due to its strong vector capabilities.
Raster Graphics: Adobe Photoshop (For Imagery)
- Photo Editing: For product photography or other raster images used on the package, Photoshop is indispensable for color correction, retouching, and compositing.
- Texture Creation: Develop realistic textures or patterns that can be applied to your packaging designs.
- Mockup Creation: While not for the final design, Photoshop is great for quickly dropping flat designs onto pre-made packaging mockup templates for presentations.
3D Visualization & Mockups: Bringing Concepts to Life
- Adobe Dimension: An excellent entry point for designers to create realistic 3D mockups. You can apply 2D designs created in Illustrator or Photoshop directly onto pre-existing 3D models of boxes, bottles, pouches, and more, complete with lighting and shadows.
- Blender / Cinema 4D: For more advanced, custom structural designs, complex animations, or ultra-realistic renders, dedicated 3D software like Blender (free and open-source) or Cinema 4D offers unparalleled control. This is where you can truly design unique package forms from scratch.
- Figma / Adobe XD (Yes, Really!): While not 3D tools, don’t underestimate their power for packaging.
- Storyboarding the Unboxing: Create artboards for each step of the unboxing process. Import your 2D graphic designs and arrange them to visualize the user’s journey. Use prototyping features to simulate opening actions.
- 2D Mockups & Presentations: Quickly create flat, multi-view mockups (front, back, side) for internal reviews or client presentations. Their collaborative features are fantastic for team feedback.
- Asset Management: Manage all your packaging design assets (logos, icons, color styles) within a design system, ensuring consistency across all iterations.
Physical Prototyping Tools
- Cutting Mats & Knives: Essential for manual paper mockups.
- Laser Cutters: For precise cutting and scoring of paperboard or other materials based on your dielines, creating professional-looking physical prototypes.
- 3D Printers: Invaluable for creating custom structural elements, inserts, or even small custom containers.
Techniques You Need to Master
- Color Management: Understand the difference between RGB (screens) and CMYK (print). Learn about spot colors (Pantone) for brand consistency and special effects. Calibrate your monitor!
- Print Finishes: Familiarize yourself with options like matte, gloss, soft-touch laminates, UV coating, embossing, debossing, foil stamping, and varnishes. These add tactile and visual richness.
- Material Knowledge: Understand the properties of different substrates – their strength, printability, sustainability, and cost.
- Pre-Press Preparation: This involves ensuring your files are perfectly prepared for the printer – correct bleed, trim marks, color separations, and file formats.
Designing for Tomorrow: Trends, Sustainability, and the Unboxing Experience
The packaging landscape is constantly evolving. To design for 2026, we must look beyond current aesthetics and consider broader societal and technological shifts.
1. The Sustainability Imperative
This is no longer a niche concern but a mainstream expectation. Designers must prioritize:
- Recyclable, Compostable, Biodegradable Materials: Opt for materials with clear end-of-life solutions. Research innovative alternatives like mushroom packaging, seaweed-based films, or plant-based plastics.
- Minimalist Packaging: Reduce material usage wherever possible. “Less is more” applies to environmental impact too.
- Refill & Reusable Systems: Design packaging that encourages consumers to refill or reuse, reducing single-use waste.
- Transparent Sourcing: Consumers want to know where materials come from and how they’re produced.
- Clear Disposal Instructions: Make it easy for consumers to properly dispose of or recycle the packaging.
2. The Elevated Unboxing Experience
As mentioned, this is your chance to shine with your UX skills. The unboxing is a performance, a ritual, and a powerful marketing tool.
- Layered Reveals: Create anticipation with multiple layers, each revealing a new piece of the story or product.
- Tactile Delight: Incorporate textures, finishes, and structural elements that feel good to touch. Think about the sound of opening, the feel of the material.
- Personalization: Can the package include a personalized message, a unique design, or custom inserts?
- Integration with Digital: Use QR codes or NFC tags to link to exclusive content, AR experiences, or product registration.
3. Smart & Interactive Packaging
Technology is moving from the screen to the physical product.
- Augmented Reality (AR): Imagine scanning a package with your phone to see the product animate, learn about its features, or access recipes.
- NFC & QR Codes: Provide instant access to product information, brand stories, sustainability data, customer support, or loyalty programs.
- Temperature/Freshness Indicators: For food and pharmaceuticals, these can assure consumers of product integrity.
4. Minimalism & Authenticity
A backlash against visual clutter and greenwashing is leading to designs that are:
- Clean & Uncluttered: Focus on essential information, strong typography, and ample white space.
- Honest Materials: Let the material speak for itself rather than trying to disguise it. Show the natural texture of recycled paperboard.
- Transparent Storytelling: Be upfront about ingredients, sourcing, and brand values.
5. Bold Graphics & Artful Expression
While minimalism is strong, there’s also a counter-trend towards expressive, artistic packaging that treats the box as a canvas. This often involves:
- Custom Illustrations: Unique, hand-drawn or digitally illustrated artwork that tells a story or evokes emotion.
- Unique Color Combinations: Breaking away from conventional palettes to create memorable and vibrant packaging.
- Experimental Typography: Using distinctive or custom typefaces to reinforce brand personality.
The most successful packaging designs in 2026 will likely blend these trends, finding innovative ways to be sustainable, engaging, and deeply aligned with their brand’s purpose.
Frequently Asked Questions About Packaging Design
- How long does the packaging design process typically take?
- The timeline can vary significantly based on complexity, number of product variations, and client responsiveness. A simple packaging design might take 4-8 weeks from brief to print-ready files, while a complex project involving custom structural design, multiple prototypes, and extensive testing could easily take 3-6 months or even longer.
- What’s the most important factor in successful packaging design?
- While many factors contribute, the most critical is often clarity and differentiation. The package must clearly communicate what the product is, who it’s for, and why it’s different/better than competitors, all within a few seconds of viewing. If a consumer can’t understand it quickly, they’ll move on.
- How do I choose the right materials for my packaging?
- Material selection depends on several factors: product protection (fragility, shelf life), brand image (luxury, eco-friendly), cost, sustainability goals, and desired tactile experience. Research options like paperboard, corrugated, glass, various plastics, and emerging eco-materials. Always consult with packaging manufacturers early in the process, as they have invaluable expertise.
- Can my UI/UX skills really translate effectively to packaging design?
- Absolutely! Your understanding of user journeys, information hierarchy, visual design principles (contrast, balance, alignment), accessibility, and creating intuitive experiences are directly transferable. Think of packaging as a physical interface where the “user” (consumer) interacts with the “product.” The unboxing experience, in particular, is a direct application of UX principles.
- What is a dieline and why is it so important?
- A dieline (or cutting guide) is a 2D, flattened outline of your packaging’s structure. It shows all the cut lines, score lines, and folds that will be used to create the final 3D package. Dielines are critical because they ensure precision in manufacturing, dictate how your graphics will wrap around the product, and are the foundation for creating accurate print-ready files. Without a correct dieline, your packaging simply won’t assemble properly.
Ready to Wrap Up Your Next Big Idea?
Packaging design is a multi-faceted discipline that bridges the gap between the digital and physical worlds. For UI/UX designers, web designers, and creative professionals, it’s an exciting opportunity to apply your existing skills in a tangible, impactful way. From strategic research and structural innovation to captivating graphic design and a delightful unboxing experience, every element plays a vital role in connecting with consumers.
As we look towards 2026, the emphasis on sustainability, personalization, and interactive experiences will only grow. By embracing these trends and mastering the tools and processes outlined in this guide, you’re not just designing a container; you’re crafting a memorable brand experience that resonates long after the product is opened.
So, take these insights, experiment with your tools, and start thinking outside the box – literally. The world is waiting for your next beautifully packaged creation. What will you design?
{
“@context”: “https://schema.org”,
“@graph”: [
{
“@type”: “Article”,
“mainEntityOfPage”: {
“@type”: “WebPage”,
“@id”: “https://layoutscene.com/packaging-design-guide-2026”
},
“headline”: “The Definitive Guide to Product Packaging Design for 2026: From Concept to Shelf Appeal”,
“image”: [
“https://layoutscene.com/images/packaging-design-hero.jpg”,
“https://layoutscene.com/images/packaging-design-process.jpg”,
“https://layoutscene.com/images/sustainable-packaging-2026.jpg”
],
“datePublished”: “2023-10-27T09:00:00+08:00”,
“dateModified”: “2023-10-27T09:00:00+08:00”,
“author”: {
“@type”: “Person”,
“name”: “Layout Scene Design Team”
},
“publisher”: {
“@type”: “Organization”,
“name”: “Layout Scene”,
“logo”: {
“@type”: “ImageObject”,
“url”: “https://layoutscene.com/logo.png”
}
},
“description”: “A comprehensive, actionable guide for UI/UX and web designers on how to design product packaging, covering strategy, process, tools (Figma, Adobe XD, Illustrator), future trends for 2026, sustainability, and creating an impactful unboxing experience.”,
“articleSection”: [
“Why Packaging Design Matters (Even for Digital Pros)”,
“Laying the Groundwork: Research, Strategy, and Brand Identity”,
“The Core Design Process: From Concept to Creation”,
“Mastering the Tools and Techniques for Modern Packaging”,
“Designing for Tomorrow: Trends, Sustainability, and the Unboxing Experience”
],
“keywords”: “packaging design guide, product packaging design, how to design packaging, packaging design process, 2026 packaging trends, sustainable packaging design, unboxing experience, Adobe Illustrator packaging, Figma packaging mockups, Adobe Dimension packaging, UI/UX packaging design”
},
{
“@type”: “FAQPage”,
“mainEntity”: [
{
“@type”: “Question”,
“name”: “How long does the packaging design process typically take?”,
“acceptedAnswer”: {
“@type”: “Answer”,
“text”: “The timeline can vary significantly based on complexity, number of product variations, and client responsiveness. A simple packaging design might take 4-8 weeks from brief to print-ready files, while a complex project involving custom structural design, multiple prototypes, and extensive testing could easily take 3-6 months or even longer.”