Mastering Prototype Fidelity: When Low-Fidelity Wins and High-Fidelity Shines
Choosing the appropriate fidelity level isn’t a one-size-fits-all decision; it’s a strategic choice dictated by your project’s stage, objectives, available resources, and the specific questions you need to answer. Over-investing in detail too early can stifle creativity and waste time, while insufficient detail later on can lead to critical oversights. This comprehensive guide will explore the spectrum of prototype fidelity, dissecting when low-fidelity prototypes provide an unbeatable advantage and when high-fidelity prototypes become indispensable, equipping you with the knowledge to make informed decisions for your next design endeavor.
What Exactly is Prototype Fidelity? Understanding the Spectrum
Prototype fidelity refers to the level of detail and realism embedded in your prototype. It’s a spectrum, not a binary choice, encompassing various dimensions that collectively determine how closely your prototype mimics the final product. Understanding these dimensions is the first step in making informed decisions about your prototyping strategy.
Key Dimensions of Fidelity:
- Visual Fidelity: This pertains to the aesthetic elements.
- Low: Hand-drawn sketches, basic shapes, placeholder text, grayscale. Focuses on layout and structure.
- Medium: Wireframes with defined components, consistent typography, limited color palette, semi-realistic content.
- High: Pixel-perfect designs, realistic imagery, full color, brand-specific typography, detailed UI elements, often indistinguishable from the final product’s visual design.
- Content Fidelity: Refers to the realism of the information presented.
- Low: Lorem ipsum, generic placeholders, simple labels.
- Medium: Semi-realistic data, relevant but not final text, some specific product details.
- High: Actual production content, real user data (if applicable), accurately formatted text and imagery.
- Interaction Fidelity: How functional and interactive the prototype is.
- Low: Static images, click-through only (e.g., clicking a button takes you to a new screen, but the button itself doesn’t perform an action).
- Medium: Basic interactive elements, clickable buttons, simple form fields, basic animations, some state changes.
- High: Fully interactive components, complex animations, micro-interactions, data input and output, conditional logic, mimicking most or all of the intended functionality.
By understanding these dimensions, you can strategically blend them to create prototypes that are “just right” for your specific testing needs, avoiding unnecessary effort or insufficient detail. The Nielsen Norman Group (NN/g) consistently emphasizes that the “right” fidelity is about achieving your testing goals efficiently, not necessarily about mimicking reality perfectly every time.
The Unbeatable Edge of Low-Fidelity Prototypes
Low-fidelity prototypes are the unsung heroes of the early design phase. They are quick, cheap, and surprisingly effective tools for exploring concepts and validating fundamental ideas without getting bogged down in intricate details. Their power lies in their simplicity and the freedom they offer.
Advantages of Low-Fidelity:
- Speed and Cost-Effectiveness:
Creating low-fidelity prototypes, such as paper sketches or basic digital wireframes, takes minutes or hours, not days or weeks. This rapid creation process significantly reduces design costs and allows teams to generate multiple concepts quickly. You can literally sketch ideas on a napkin, test them, and discard them without any emotional attachment or significant financial investment.
- Focus on Core Concepts and Functionality:
Because low-fidelity prototypes lack visual polish, users and stakeholders are less likely to get distracted by aesthetic preferences (e.g., “I don’t like this shade of blue”) and more likely to focus on the fundamental user flow, information architecture, and core functionality. This ensures that critical structural issues are identified and addressed early on.
- Encourages Honest and Critical Feedback:
Users tend to be more comfortable providing critical feedback on a rough sketch than on a polished, seemingly “finished” design. The unfinished nature of low-fidelity prototypes signals that the design is still open to significant changes, making participants feel more empowered to suggest improvements and point out flaws without fear of offending the designers. This aligns with the NN/g’s advice on early, frequent user testing.
- Facilitates Rapid Iteration:
When changes are easy to make, iteration becomes a natural part of the process. If a user test reveals a major flaw in a low-fidelity prototype, it’s simple to redraw a screen or rearrange elements. This “fail fast, fail often” mentality is crucial for agile development and ensures that design problems are resolved before they become deeply embedded and expensive to fix.
- Democratizes Design:
Anyone can sketch. Low-fidelity prototyping tools like paper and pencil or simple digital wireframing software lower the barrier to entry, allowing non-designers—such as product managers, developers, or even users—to contribute to the design process and visualize their ideas effectively.
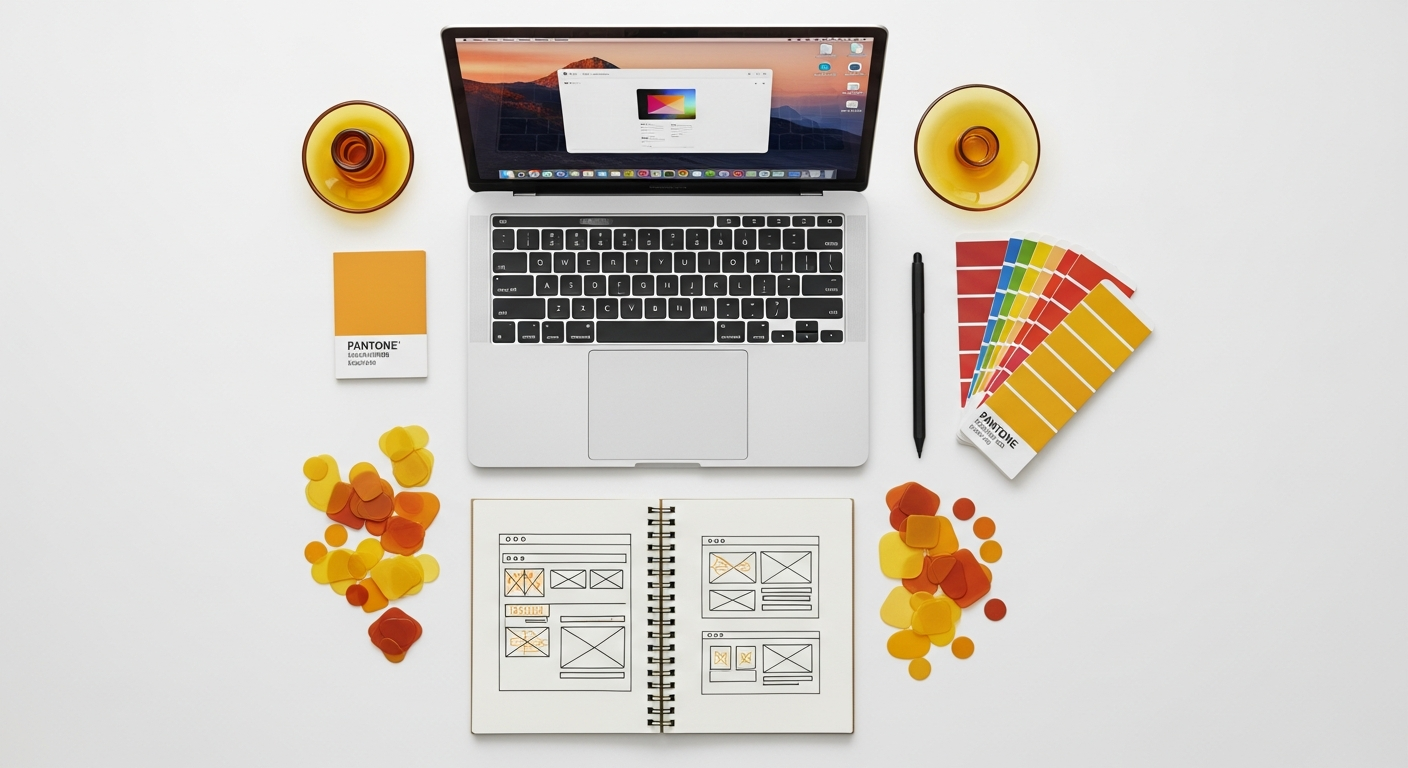
Examples of Low-Fidelity Prototypes:
- Paper Prototypes: Hand-drawn sketches of screens and user interfaces on paper. They can be interactive by having a facilitator manually swap screens based on user actions.
- Clickable Wireframes: Digital wireframes created using tools like Balsamiq, Whimsical, or even basic shapes in Figma/Sketch, linked together to simulate basic navigation.
- Storyboard Sketches: Sequences of sketches illustrating a user’s journey or interaction with a system over time.
Low-fidelity prototypes are your secret weapon for validating foundational ideas and user flows efficiently, setting a strong, user-centered direction for your project from the very beginning.
Strategic Use Cases for Low-Fidelity: When to Embrace Simplicity
Knowing when to use low-fidelity prototypes is as important as understanding their benefits. They are particularly effective during the nascent stages of a project when exploration, speed, and conceptual validation are paramount. Embracing simplicity at these junctures can save immense time and resources down the line.
Ideal Scenarios for Low-Fidelity Prototyping:
- Early Ideation and Brainstorming:
When you’re just starting to explore potential solutions to a problem, low-fidelity prototypes allow you to quickly visualize and compare multiple design concepts. This is the perfect stage for divergent thinking, where quantity of ideas often trumps immediate perfection. Use paper or simple digital tools to sketch out various layouts, navigation schemes, and interaction patterns.
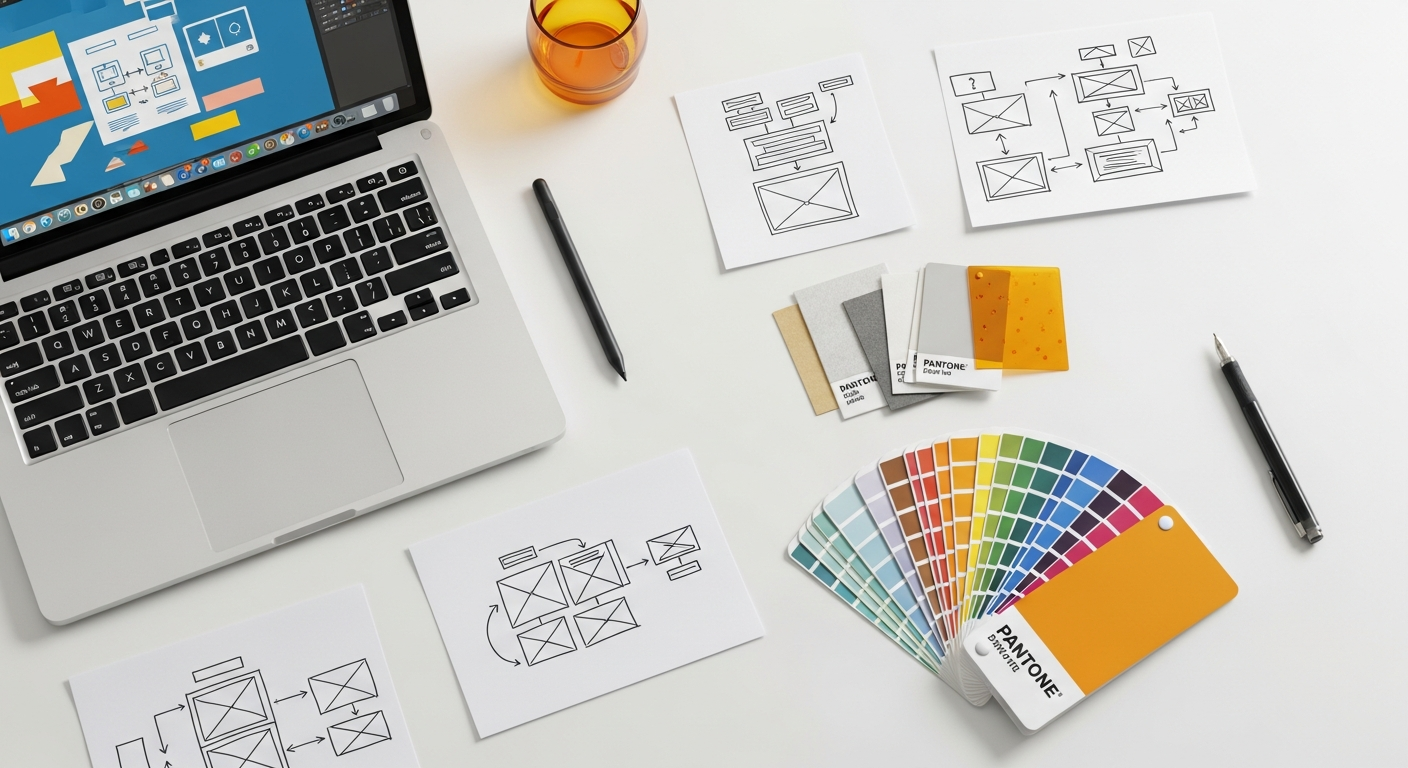
- Validating User Flows and Information Architecture:
Before investing in detailed visual design, it’s crucial to ensure that the fundamental user journey makes sense. Low-fidelity prototypes are excellent for testing whether users can intuitively navigate through the system, find information, and complete core tasks. You can test the clarity of your labels, the logic of your navigation, and the overall structure of your content. This helps to identify and rectify major structural issues early, preventing costly rework later.
- Concept Testing with Users:
When you need to gather initial reactions to a new feature or product concept, low-fidelity prototypes are ideal. They help you determine if the core value proposition resonates with users and if the proposed solution meets their needs. For example, presenting a paper prototype of a new checkout process can reveal immediate pain points or misunderstandings without any visual bias.
- Internal Stakeholder Alignment:
Getting diverse stakeholders—product managers, developers, marketing teams—on the same page about the basic structure and functionality of a product can be challenging. Low-fidelity prototypes provide a common visual language that facilitates discussion and ensures everyone understands the proposed solution’s fundamental architecture. It’s easier to reach consensus on basic functionality before visual preferences complicate the discussion.
- Rapid Iteration Cycles (Agile Environments):
In agile development methodologies, quick feedback loops and continuous iteration are key. Low-fidelity prototypes fit perfectly into this framework, allowing designers to quickly create, test, and refine solutions within short sprints. This enables teams to respond swiftly to user feedback and evolving project requirements.
By judiciously applying low-fidelity prototyping in these scenarios, you lay a robust foundation for your design, ensuring that the core user experience is sound before you invest significant effort in visual polish and detailed interactions.
When High-Fidelity Prototypes Shine Brightest: The Power of Realism
While low-fidelity prototypes are excellent for early exploration, there comes a point in the design process where realism becomes paramount. High-fidelity prototypes are sophisticated representations of the final product, offering a near-complete experience. They are your best tool for fine-tuning interactions, validating visual design, and securing final approvals.
Advantages of High-Fidelity:
- Realism and Immersion:
High-fidelity prototypes closely mimic the aesthetics, content, and functionality of the final product. This realism creates a highly immersive experience for users, allowing them to interact with the prototype as if it were the actual application or website. This level of detail is crucial for capturing subtle user reactions and behaviors that simpler prototypes might miss.
- Comprehensive Usability Testing:
When you need to test specific interactions, micro-animations, or the overall visual appeal, high-fidelity prototypes are indispensable. They allow for detailed usability testing that uncovers nuanced issues related to interaction design, visual hierarchy, and even accessibility (e.g., testing color contrast ratios as per WCAG guidelines). Users can provide feedback on the complete experience, not just the underlying structure.
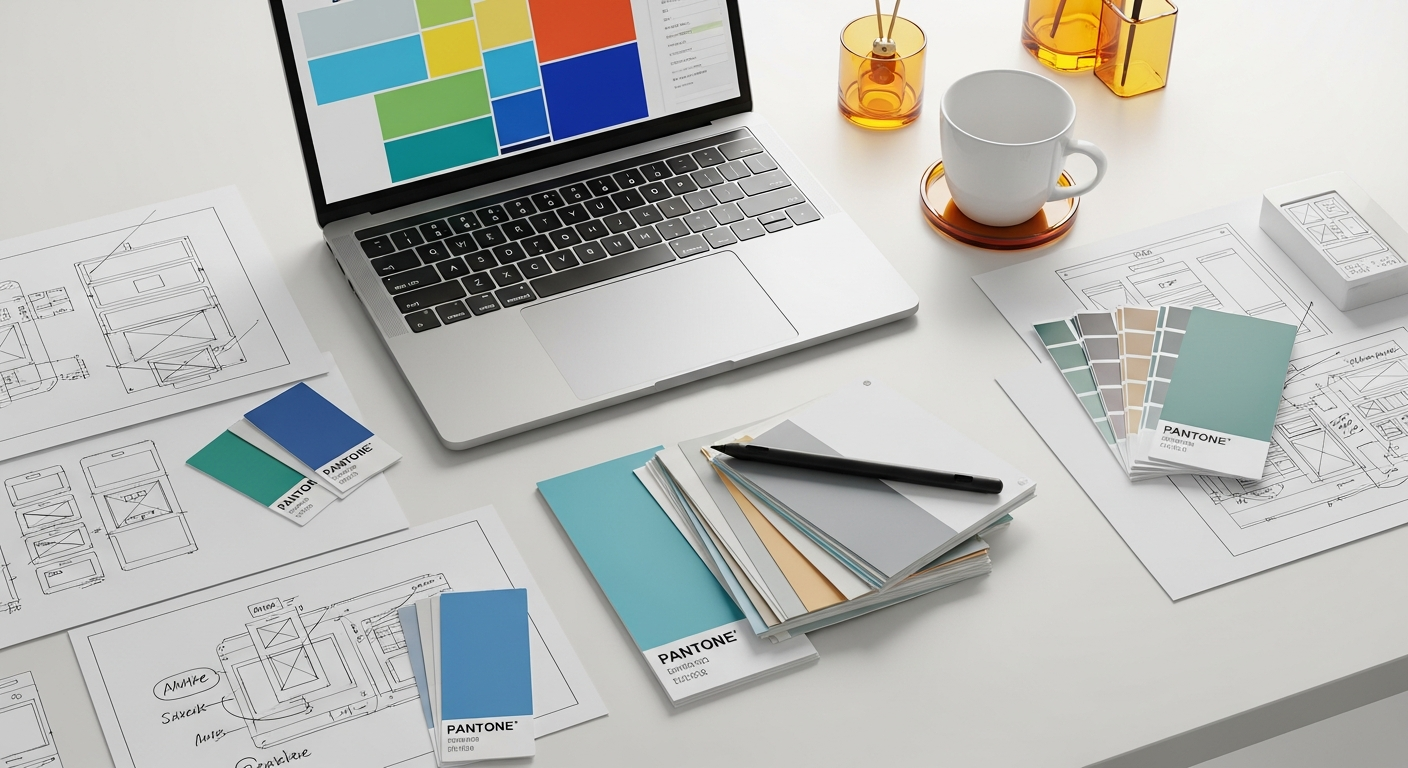
- Validating Visual Design and Branding:
High-fidelity prototypes are essential for testing the effectiveness of your visual design, including typography, color palettes, iconography, and brand elements. You can assess emotional responses, brand perception, and aesthetic preferences. This is where you ensure adherence to established design systems like Material Design for Android or Apple’s Human Interface Guidelines for iOS.
- User Acceptance Testing (UAT) and Final Validation:
Before handing off designs to development, a high-fidelity prototype serves as the ultimate validation tool. It allows stakeholders and potential end-users to perform a final review, ensuring that the design meets all requirements and expectations. This significantly reduces the risk of costly changes during or after development.
- Securing Stakeholder Buy-in and Sales/Marketing Demos:
For presentations to investors, clients, or for use in sales and marketing efforts, a high-fidelity prototype is invaluable. Its polished appearance and realistic functionality can powerfully communicate the product vision and secure crucial buy-in. It leaves a professional and convincing impression, demonstrating the product’s potential with clarity and impact.
- Developer Handoff and Specification:
A detailed high-fidelity prototype provides developers with a clear and comprehensive blueprint of the final product. It serves as a visual specification, detailing interactions, animations, and visual states, thereby reducing ambiguity and streamlining the development process. Tools like Figma’s Dev Mode or Zeplin are built specifically for this purpose, extracting design specs directly from high-fidelity files.
The investment in high-fidelity prototyping pays off by refining the user experience to a high degree, minimizing risks in development, and ensuring that the final product is both functional and aesthetically pleasing.
Strategic Use Cases for High-Fidelity: When Detail is Your Ally
Just as low-fidelity prototypes have their sweet spot, high-fidelity prototypes are uniquely suited for specific stages and objectives in the design process. Deploying them strategically ensures that your investment in detail yields maximum returns, addressing complex questions and securing critical approvals.
Ideal Scenarios for High-Fidelity Prototyping:
- Testing Complex Interactions and Micro-interactions:
When your design involves intricate animations, drag-and-drop functionality, complex form validations, or multi-step processes, high-fidelity prototypes are essential. They allow you to test the nuances of these interactions, ensuring they are intuitive, responsive, and delightful. For instance, testing the feel and timing of a custom animation or the feedback for an invalid form input requires a high degree of fidelity.
- A/B Testing Visual Elements and Design Variations:
If you need to compare different visual designs, color schemes, icon sets, or typography choices to see which performs better with users, high-fidelity prototypes are the tool of choice. Their realism ensures that users react to the visual design as they would to the final product, providing meaningful data for optimization.
- Accessibility Testing and Compliance:
Ensuring your product is accessible to all users, including those with disabilities, is a critical aspect of modern UX design. High-fidelity prototypes allow you to conduct thorough accessibility audits, testing elements like keyboard navigation, screen reader compatibility, focus states, and color contrast ratios against standards like WCAG (Web Content Accessibility Guidelines). This is virtually impossible with low-fidelity prototypes.
- Final Usability Testing and Polishing the User Experience:
As you approach the development phase, high-fidelity prototypes enable you to conduct final rounds of usability testing. This helps identify any remaining friction points, fine-tune the user experience, and ensure that all edge cases are handled gracefully. It’s about polishing the interactions and visual details to achieve a seamless and delightful experience.
- Presenting to Investors, Key Stakeholders, or Potential Customers:
When the goal is to impress, gain funding, or secure client approval, a high-fidelity prototype is your most persuasive asset. It demonstrates a clear vision, showcases the product’s potential, and instills confidence in its viability. These prototypes can be used effectively in sales pitches, investor meetings, or public product announcements.
- Onboarding and Training Material Development:
For complex applications, high-fidelity prototypes can be used to develop onboarding flows, tutorials, or training materials even before the product is fully coded. This allows you to test the effectiveness of your instructional content and ensure users can learn to use the product efficiently.
Leveraging high-fidelity prototypes in these specific contexts ensures that your product is not only functional but also highly polished, user-friendly, and aligned with business goals and accessibility standards.
The Goldilocks Zone: Medium-Fidelity Prototypes
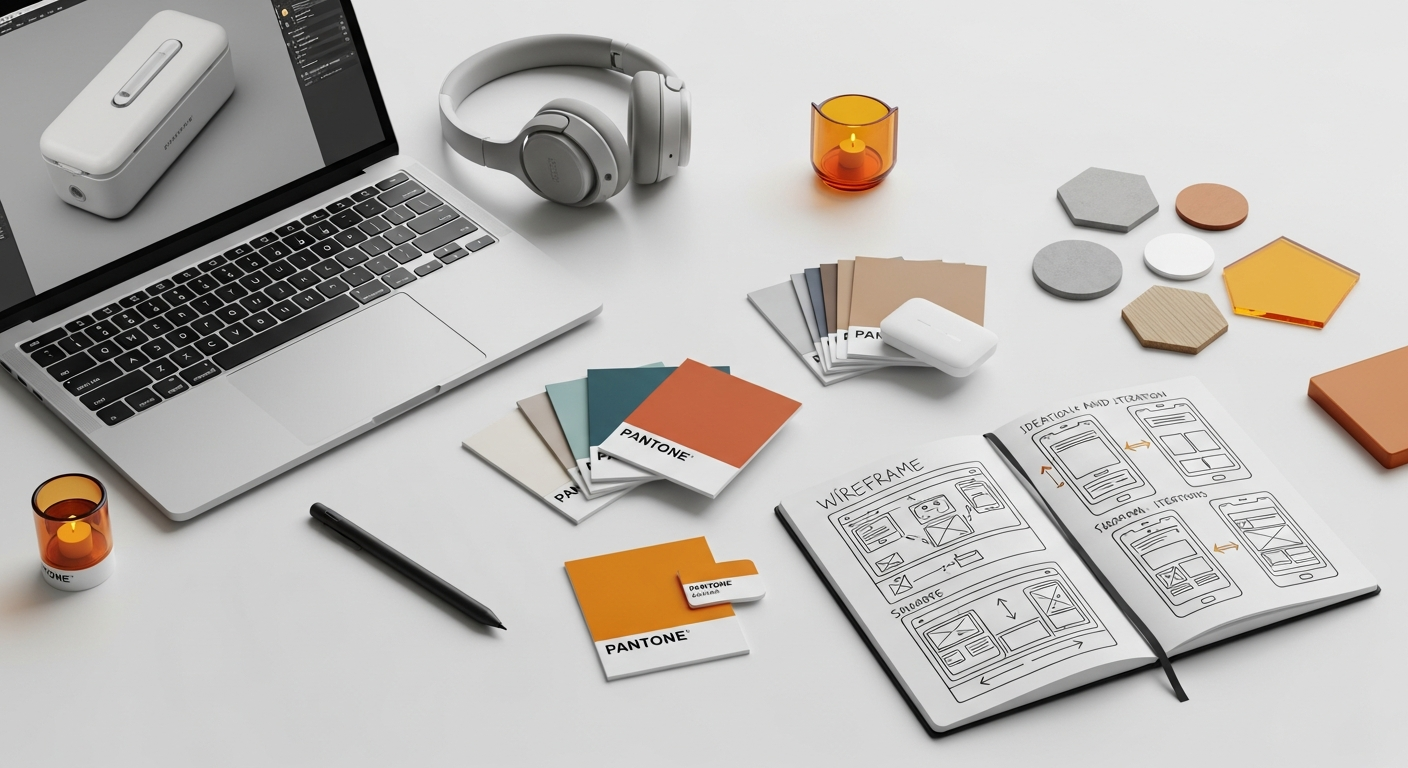
Often overlooked, medium-fidelity prototypes occupy a crucial middle ground between the raw simplicity of low-fidelity and the polished realism of high-fidelity. They offer a “just right” balance, providing enough detail to clarify specific interactions and visual concepts without requiring the full investment of a high-fidelity build. Think of them as enhanced wireframes or early mockups.
Characteristics of Medium-Fidelity Prototypes:
- Visuals: Typically grey-box layouts with more defined UI elements than low-fi. May include basic colors to differentiate sections, consistent typography (though not necessarily final fonts), and generic iconography. Placeholders might be more descriptive than “Lorem ipsum.”
- Content: Semi-realistic or representative content. Enough detail to convey the meaning without being fully production-ready.
- Interactivity: More interactive than static low-fi. Clickable elements, basic form inputs, simple state changes (e.g., a button changing color on hover/click). Often built as click-throughs with some animated transitions.
When to Use Medium-Fidelity:
- Refining User Flows and Interaction Patterns: Once the basic user flow is validated with low-fidelity, medium-fidelity allows you to add more detail to specific interactions. For example, how does a complex form field behave? What happens when a user submits data?
- Testing Specific Components: If you’re designing a new component (e.g., a custom date picker, a complex filter system), a medium-fidelity prototype allows you to test its functionality and usability in isolation or within a basic layout without the distraction of full visual design.
- Early Stages of Visual Design Exploration: Medium-fidelity can serve as a bridge to high-fidelity. You might start introducing a more defined visual hierarchy, early color palettes, or specific component styles to get initial feedback on aesthetic direction without committing to a full design system.
- Bridging the Gap Between Concept and Polish: When you need to present a more concrete vision to stakeholders than a wireframe, but don’t yet have the resources or need for a fully interactive design. It shows progression and a clearer direction.
- User Testing for Specific Tasks: If your testing objective is to evaluate the usability of a particular feature or task flow, a medium-fidelity prototype can provide enough context and interactivity without overwhelming users with unnecessary visual detail.
Tools like Axure RP excel in creating medium-fidelity prototypes, offering robust interaction capabilities without requiring pixel-perfect visual design. Many designers also leverage Figma or Sketch for this by using component libraries and basic styling. Medium-fidelity prototypes are a pragmatic choice when you need more than just structure, but less than a fully rendered product, making them highly efficient for targeted testing and refinement.
Choosing Your Fidelity Level: Key Decision Factors
The decision of which fidelity level to employ is rarely arbitrary. It’s a strategic choice guided by several critical factors that influence the efficiency and effectiveness of your design process. Consider these elements carefully to ensure you’re making the most appropriate choice for your project.
Factors to Consider:
- Project Stage:
- Early Stages (Ideation, Concept Exploration): Low-fidelity is almost always preferred. It promotes rapid exploration and prevents premature commitment to specific solutions.
- Mid-Stages (Refinement, Detailed Flow Design): Medium-fidelity often shines here, allowing for detailed interaction testing without full visual investment.
- Late Stages (Validation, Handoff, Final Testing): High-fidelity becomes essential for comprehensive usability testing, visual validation, and developer handover.
- Goals of Your Prototype and Testing:
- Validate core concept/problem-solution fit? Low-fidelity.
- Test user flow/information architecture? Low to Medium-fidelity.
- Evaluate specific interactions/micro-interactions? Medium to High-fidelity.
- Test visual design/brand consistency? High-fidelity.
- Perform accessibility audit? High-fidelity.
- Gain stakeholder buy-in/investor approval? Medium to High-fidelity.
- Available Resources (Time, Budget, Team Skills):
- Limited Time/Budget: Lean towards low-fidelity to maximize output.
- Skilled Design Team with Time: High-fidelity is more feasible and can be highly beneficial.
- Team Skill Set: Ensure your team has the expertise with the chosen prototyping tools and techniques. Don’t overcommit to high-fidelity if your team lacks the necessary visual design or animation skills.
- Target Audience / Users for Testing:
- Users Unfamiliar with Prototypes: High-fidelity might be necessary to provide enough context and realism.
- Experienced Users/Internal Stakeholders: They might be comfortable with lower fidelity, understanding its purpose.
- Sensitivity to Aesthetics: If visual design is critical to the user’s perception (e.g., luxury brand, creative portfolio), higher fidelity will be more appropriate for testing.
- Complexity of the Product or Feature:
- Simple, static content sites: Lower fidelity might suffice for much of the process.
- Complex, interactive applications (e.g., enterprise software, gaming interfaces): Higher fidelity will be crucial for testing intricate workflows and advanced interactions.
- Technical Constraints and Feasibility:
Sometimes, high-fidelity prototypes can reveal technical limitations. While not their primary purpose, building a high-fidelity prototype can help expose potential development challenges or performance issues early on, prompting discussions with engineering teams.
By systematically evaluating these factors, you can make an informed decision that aligns your prototyping efforts with your project’s needs, optimizing your design workflow and leading to more effective outcomes. Remember, fidelity isn’t a linear progression; you might jump between levels depending on the specific task at hand.
Essential Tools for Every Fidelity Level: A Comparative Overview
The right tools can significantly streamline your prototyping process, regardless of the fidelity level you choose. Modern UI/UX design tools offer a wide array of features, from basic sketching capabilities to advanced animation and interaction design. Here’s a comparison of popular tools across the fidelity spectrum:
Prototype Fidelity Tool Comparison Table
| Tool Name | Primary Fidelity Level(s) | Key Features | Best For |
|---|---|---|---|
| Paper & Pencil | Low-Fidelity | No-cost, immediate, highly flexible, encourages brainstorming. | Rapid ideation, early concept sketching, guerrilla testing. |
| Balsamiq Wireframes | Low-Fidelity | Sketchy aesthetic, drag-and-drop components, basic linking. | Quick wireframing, validating user flows, early stakeholder review. |
| Whimsical | Low-Fidelity | Flowcharts, wireframes, sticky notes, collaborative real-time editing. | Information architecture, user flows, collaborative brainstorming. |
| Axure RP | Medium to High-Fidelity | Complex conditional logic, dynamic content, robust interactions, comprehensive documentation. | Detailed functional prototypes, complex interactions, enterprise-level projects, comprehensive specifications. |
| Adobe XD | Medium to High-Fidelity | Design, prototyping, and sharing in one tool; auto-animate, voice prototyping. | UI design, interactive prototypes with animations, basic micro-interactions, integration with Adobe Creative Cloud. |
| Sketch | High-Fidelity (with plugins) | Vector editing, robust plugin ecosystem, symbol libraries. Prototyping via plugins (e.g., InVision, Principle). | Mac-native UI design, design systems, visual design, handoff with external tools. |
| Figma | Medium to High-Fidelity | Cloud-based, real-time collaboration, robust vector editor, advanced prototyping features (smart animate, interactive components). | Collaborative UI/UX design, design systems, advanced interactive prototypes, developer handoff (Dev Mode). |
| ProtoPie | High-Fidelity | Highly expressive interaction design, sensor control, multi-device prototyping. | Micro-interactions, advanced animations, hardware-software integration, testing complex gestures. |
| Framer | High-Fidelity | Code-based design (React components), advanced animation, real data integration. | High-fidelity interactive components, production-ready prototypes, designers with code experience. |
The best tool is often the one you’re most proficient with and that best serves your project’s specific needs. Many designers use a combination of tools throughout their workflow, starting with low-fidelity sketches and gradually moving to more sophisticated digital solutions as the design matures.
Avoiding Common Fidelity Pitfalls
While understanding the benefits of different fidelity levels is crucial, it’s equally important to be aware of common pitfalls that can undermine your prototyping efforts. Avoiding these mistakes will ensure a smoother, more efficient design process.
Key Pitfalls to Watch Out For:
- Over-investing in Low-Fidelity:
While low-fidelity is excellent for early stages, spending too much time refining a paper prototype or a static wireframe can be a waste. Once the core concept is validated, you need to move to the next level of detail to address more nuanced usability issues or visual design. Sticking to low-fidelity for too long can delay critical feedback on interaction and visual design.
- Under-investing in High-Fidelity (Premature Development):
Rushing to development without a sufficiently detailed high-fidelity prototype is a common and costly mistake. This often leads to developers making design decisions on the fly, extensive rework during development, and a final product that doesn’t meet user expectations or design standards. Critical usability issues related to complex interactions or visual design might only surface after significant development effort, making them expensive to fix.
- Mixing